Tuesday, August 3, 2010

Thursday, July 15, 2010

Wooden Khopesh Tutorial

0 comments

The Khopesh is probably my favorite sword, but it is very complex. It was not even made like a slandered sword. Becouse of it complex shape the bronze was often pored in to a mold rather than hammering in to shape. Even drawing it on a peace of wood is quite difficult. So here is how I did it.

Thursday, June 24, 2010

Afghani Dress

1 comments
This is the second Afgani dress I have made now. The other being last week, and unfortunately I didn't take any picts of it, this this dress is quite a bit smaller and uses less fabric if you can believe that. What? Why would I be making an Afgani dress? Good question! I don't intend to ware them ether.

For the last 7 years my family and I have taken part in the largest stage production in western Canada. The Canadian Badlands Passion play has a cast of about 150, many with multiple costumes. That is a lot of costumes. This year something different happened, rather than use only the 200 some costumes from previous years the art department said we could really enhance this if we had better costumes. So they ordered a LOT of fabric and began sewing, and I am helping in the process (as making 100 some new costumes from scratch is a very big task). 

Wednesday, June 23, 2010

My little brother in my Lorcia

0 comments
I am working on some things right now, but nothing is ready to post, so I am posting these until I have something finished.


Monday, June 7, 2010

Burned Leather Awards

0 comments

For our local bit event - Battle for Strathclyde I always make some awards for various feats, such as coming out on top of the dulling turny. This year I made 2, I used my wood burring set and went for a Egypt theme.

These are usually worn proudly on ones fighting garb made fantastic conversation starters.

Monday, May 31, 2010

Leather Lorica Segmentata

0 comments
My original side of leather.

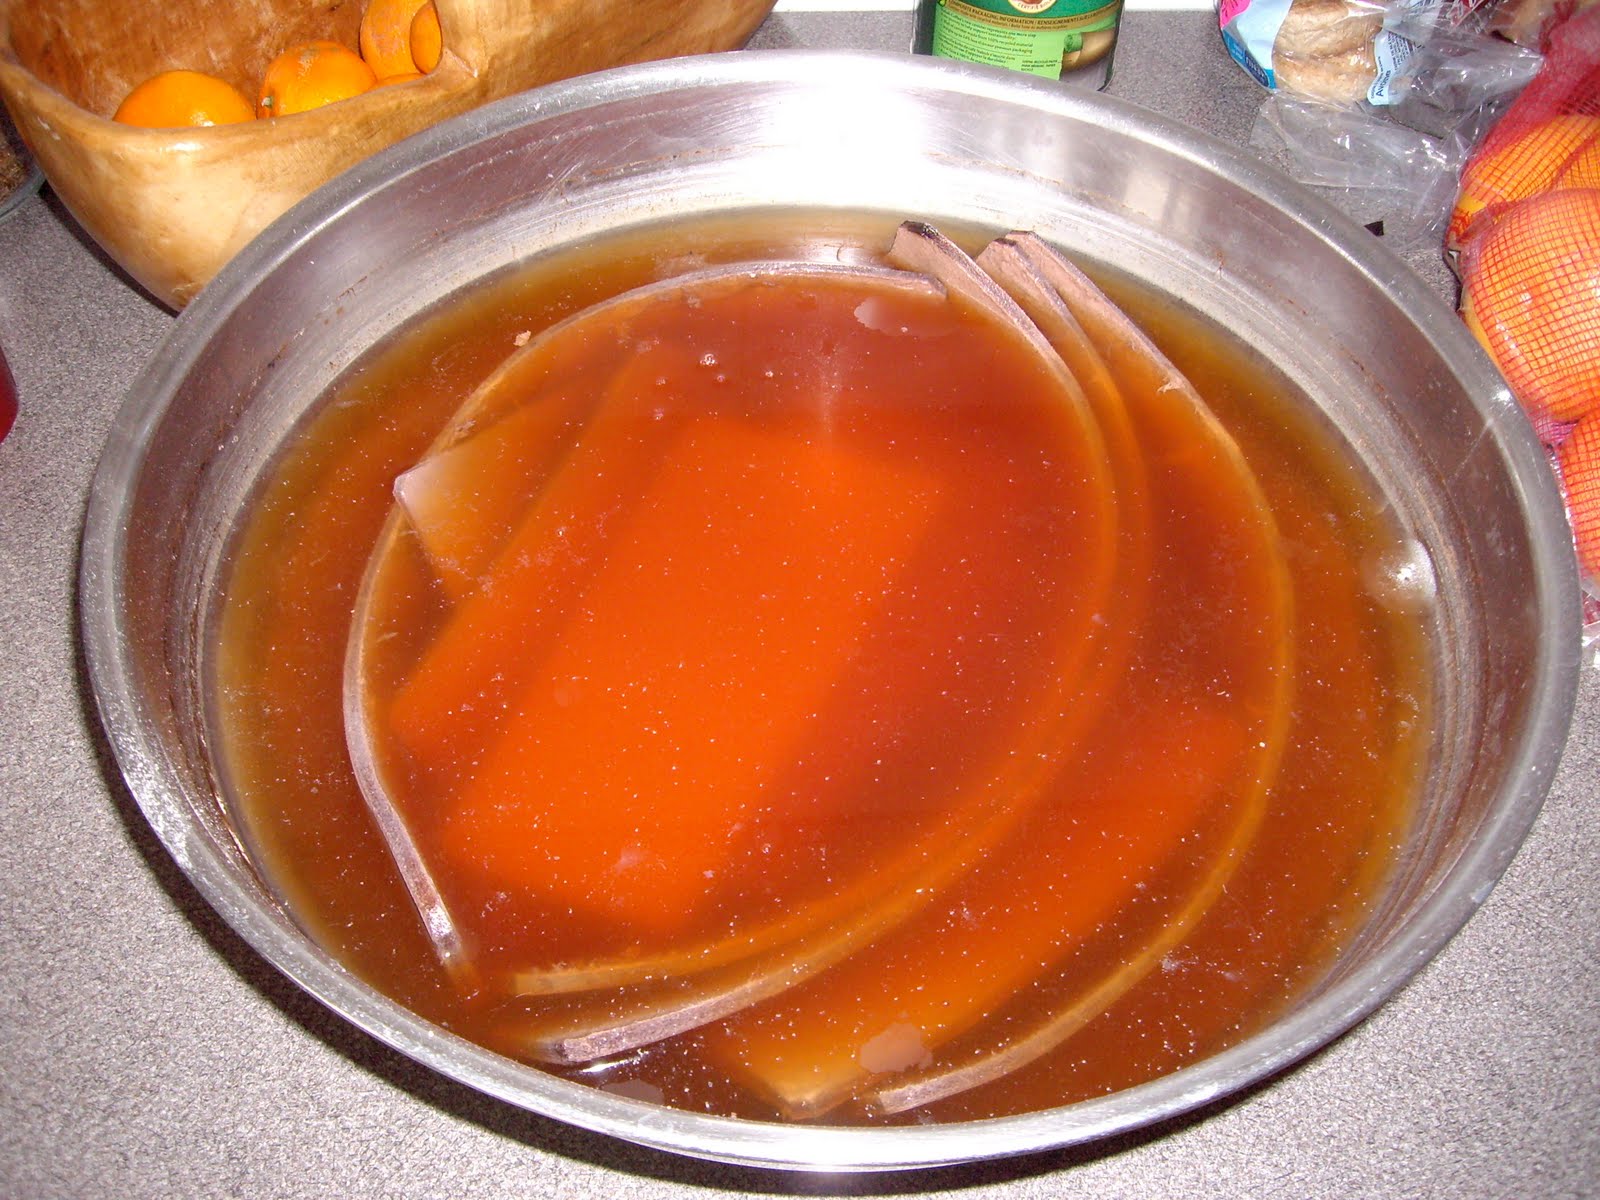
Gets cut up in to paces and then submerged in water for to long and goes moldy.

Luckily, I am planing on "baking it" to harden it. To say "baking it" is a bit deceiving though, basically I am turing my oven in it a dehydrator. I set it to about 190f for 3 hours (probably longer than I needed).


I assemble, as I have no rivets on hand I lace the hole thing togather. We will see how long that holds...

I use a dark wood stain to give it a nice color, though, the baking did give it a bit more of a tan look without its help.

Tuesday, May 11, 2010

Making a Shield - prt.2: The rest

2 comments
These 2 shields have turned out the best I have yet made. Maybe not Edhellen quality, but pretty nice if I do say so myself. I basically followed this tutorial so if you want to follow along with it, but see actually pictures, here they are.

First I took my shield blanks I already made. (see here)

Laying them on a camp pad I used them as a template that I "traced" with my knife.

The first of 3 face layers cut out.

Then I cut stripes for the edge layer. Enough for there to be 4 layers covering all edges.

Face layers glued on.

Edge layers from the back.

Edge layers from the front.

Next I taped the seams with duct tape to reenforce them. Be sure to use a good and sticky tape or it wont work. (you can't see it but I taped the face side as well)

You will also note that I added straps. I did this before I glued the first face foam on. Use a strong strapping that you don't have any fear of ripping out, it will be a pain to replace.

Next I took a peace of fabric and marked a circle 5" larger around it. See this tutorial.

Here you can see I cut along that marked line.

And sewing like the tutorial said I made it in to a draw string cover.

Shield one I painted with wood stain and acrylic paint for the details.

The Second I painted with spray paint, black is the base coat, with a red over resulting in that nice deep read. I used masking tape to help define the edges.


Wednesday, May 5, 2010

Making a Shield: Cutting the Blanks - prt.1

0 comments

Peace of wood from the $2 scrap bin at Totem.

It is hard to see, but the pen is attached to a string which is attached to a tack stuck in to the wood to create an outline as a cutting guide.

I used a jig saw (the wood is clamped to the table saw)

Making the slits for the straps. I start by using a large bit and drilling the slit edges.

Then I use the jig saw to cut the slit from hole to hole.

There we are, 2 shield blanks!


Monday, May 3, 2010

Foams

0 comments
I made a discovery the other day when I finally ran out of the foam I bought in the USA I went and got some here at home... And low and behold! The American foam is thicker!


I had my suspicions after making my last fiberglass sword and it came out as big as my PVC swords do (previous ones using Canadian foam being noticeably smaller). Well anyway, just thought I would share.