
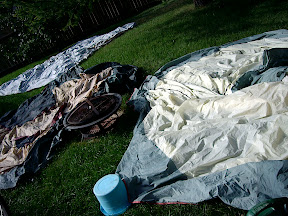
The first thing I did was to collect a few tents, one my parents where going to throw out, and another from a giveaway take away. Cost 0$
Their are several way to hold up a pavilion tent, the main two are by ropes, and the other by a "spoke" design (almost like a wagon wheel). I didn't like the spokes simply because of the amount of space they would take up for travel. So I designed a small tent that used only ropes and one center pole.

As you can see however, the guy wires take up a LOT of extra room, even with my design indented to minimize the extra rope footprint! And the peek is stupid high. Yuck!

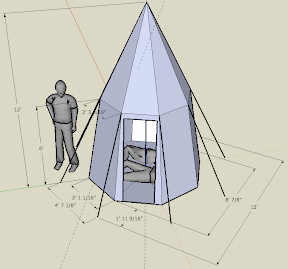
After a wile though, I discovered that spoke tents just look batter and can have a much smaller footprint. So I came up with this design. Which is what I will be using.

After a lot of searching I finally found a pavilion tent I like the looks of. Not rally the "looks", but how it is constructed and works.So I will be trying to follow this sites instructions mostly. Max & Mickel's Easy, No-bake Pavilion.
http://www.sacoriver.net/~freegate/Pavilion.html
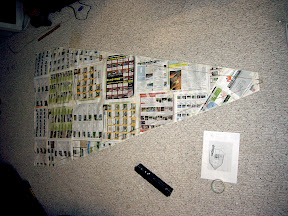
Next using the dimensions and instructions from the side above I made this template for the roof peaces. I used the dimensions from my sketchup diagram, and added 1/5" to all edges, which seems like an awful lot, but I guess I will find out why I need it. I also added 1ft to the bottom of the panel.
Ok, so that is all I have for now. I am soooooooooo exited! Woohooo pavilion tents!
No comments:
Post a Comment