
grommet |ˈgrämit|
noun
1 an eyelet placed in a hole in a sheet or panel to protect or insulate a rope or cable passed through it or to prevent the sheet or panel from being torn.
Next I put in some 3/4" Grommets, this tutorial will be much the same as my earlier Eyelets Are Easy Tutorial.
We need:
- Hammer
- Wood Block
- Reenforcing thick cloth backing
- Swing machine or thread and needle (optional)
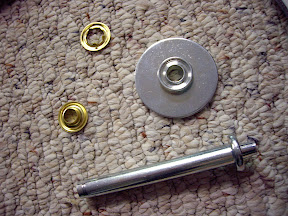
- Grommets (front and back peaces)
- Grommet anvil
- Grommet hammering thing
- Tent
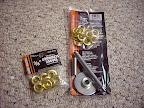
I purchased a 3/4" Grommeting Kit (with 5 grommets) for about $14 at Home Depot and 4 sets of 10 3/4" Grommets for about $5
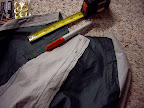
From the top hole on the roof I measured and marked 2" on the wight seems and 4" on the green seems.
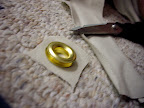
Now, my tent material might hold, but it might not, I don't want to take the risk, so I am going to back the grommet with some thick durable material to reinforce it and help prevent it from ripping out. See here I have cut a square out a bit bigger than the grommet.
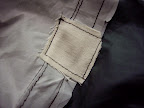
You don't have to sew it on, but I would strongly suggest it, the extra seems with like strengthen the tent.

Now get out that grommiting kit. It looks like a giant eyeleting kit.
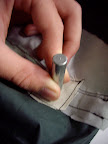
THe Grommet kit came with a "punch", which was nice. You need the peace of wood for this bit, you simply hammer a hole for the grommet. However after punching holes for about 15 grommets, it was very dull. Almost unusable. Sizers are your friend.

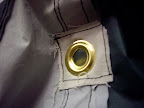
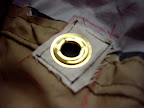
The hole punched!

Place the front/good/out side of the grommet on the grommet anvil.

Place the hole in your roof on the anvil also so the grommet sticks through. (I put the roof on upside down here)
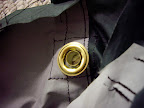
Place the bottom grommet peace on top of that.
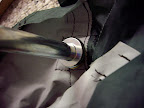
And the hammering thingy on that. Whack the to of the hammering thingy a few times with a hammer.
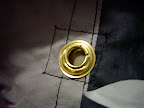
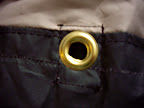
And you should have this! A nice professional looking grommet!
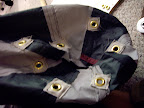
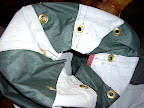
Here are pict of all 8 of the roof peek grommets in.
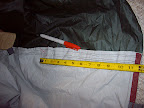
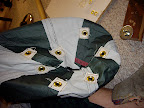
Measure the bottom of the roof (the valence) at 12" and mark it.
And add cloth backing and grommets.
Like so.
That concludes this tutorial!
No comments:
Post a Comment