
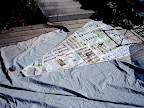
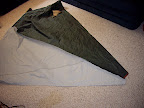
Next using the dimensions and instructions from the side above I made this template for the roof peaces. I used the dimensions from my sketchup diagram, and added 1/5" to all edges, which seems like an awful lot, but I guess I will find out why I need it. I also added 1ft to the bottom of the panel.
I used string to find the original dimensions of my sketchup model. Two peaces of string 5' 8" and one 3' 10". tapping this to the paper I then marked 1.5" from all the edges of the string and cut along those lines.
As well as a few other instruction found on Max & Mickel's Easy, No-bake Pavilion page.
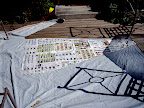
After I make my template, I lay it out on my material. I make sure to place it in a way so that I will not be wasting any, as I want to get all 8 roof peaces from it.

I pin the template to the material. The material in this case being the fly of a larger tent.
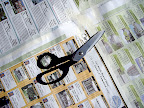
Next use then sizers to cut out along the edge of the template. These sizers sewing sizers I only use them for cutting material and thread. They are very effective.
Rinse, and repeat.
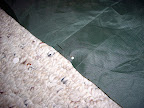
Lay the two cut out roof peaces over top each-other. The "good sides" or the sides that will be facing outward should be touching each-other. You can see here that both green sides are facing upward, that is because I want a "striped" look to the roof where the panels alternate colors (wight, green, wight, green...).
Pin the side you will be sewing together.. together.
Pin the side you will be sewing together.. together.
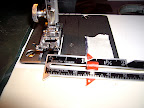
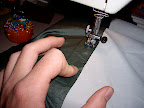
Since I want a 1" flat-felled seam I measure 1" from the needle, and mark it with masking tape.
Move the material up to the tape, the tape will now be your guide. Put the foot down.
Don't forget to back stitch!!!!
There! Sewn together! A seam. Now lets at the flat-felled part.
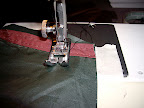
folding the excess 1" over sew along the outside edge. You will be sewing through 3 layers at this point. After this you could be done, but, lets add just one more seam.
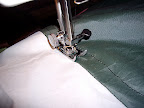
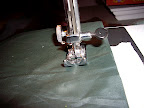
I flip the material over (the "good side" is now facing up) and sewing on the side of the origonal seam. I often use the foot as guide.
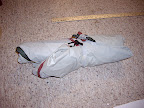
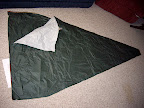
When finished I was surpassed and happy with how small the roof compressed!
Fini!
No comments:
Post a Comment