
Ok, so lets look at how we put this doggy, or puppy, or whatever, on!
- For the straps I used some strapping like material I found at the fabric store. It is just a simple cloth strap. You might also use leather from an old jacket or purses from the thrift store, or even use old belts.
- Sew on you buckles before you rivet them on! Just trust me on this one.
- You may want to add holes for the buckle using my Eyelets are easy! Tutorial. I just push the buckle thing through my cloth (but this will eventually reck the straps), if you are using leather you could pound a nail through to make holes.
- For attaching the straps use my Rivets out of roofing nails tutorial!
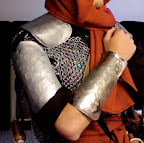
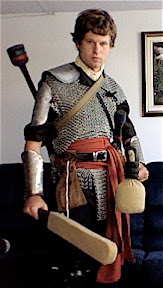
Ok, lets look at how a Pauldron attaches to your body.
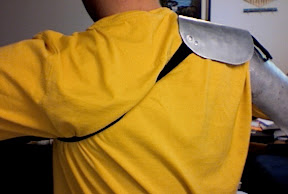
The Pauldron itself is primarily secured by 2 straps that run across your chest and under the opposite arm pit.
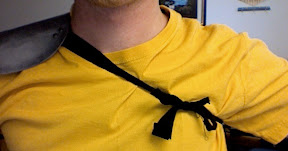
The straps should intersect near the arm pit, but error tward the chest side so you can see them when you are putting the pauldron on. I may at some point put a buckle on, but for now I am just tying it in a bow, and it is working great.
The Rerebrace is attached by ether one or two straps around the arm. The Rerebrace is also attached (not seen here) to the Pauldron, this not only stops the Rerebrace from sliding down the arm, but keeps the Pauldron stable.
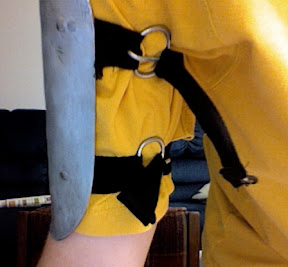
Note: See the square buckles? Don't do it. Trust me, us the ones from my Round Buckles Tutorial.
Note: See the square buckles? Don't do it. Trust me, us the ones from my Round Buckles Tutorial.
But were exactly should I put the rivets? Where should the Straps attach to the armor? Lets look first at the Pauldron.
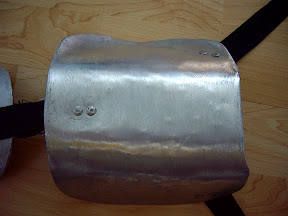
Ok, so here is a pict of the top of the pauldron. I would like to comment on where I put my rivets for tying straps that cross my body (under the arm pit). Se how they are side by side, compared to the strap that connects to the Rerbrace? That is a mistake, as it weakens the strap. Oops!

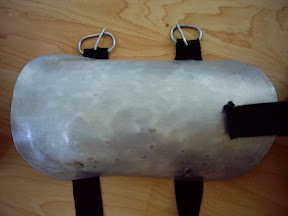
And from the bottom! You can see that I added some padding to make the Pauldron sit better the way I wanted it to. I used out door carpet tape, a double sided tape, to attach it.
And the Rerebrace from the top. Some places I have only one rivet, others I have two. I did this mostly for looks, but you may want to take in to consideration how much stress the strap will be under.
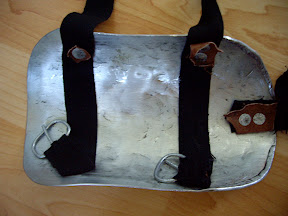
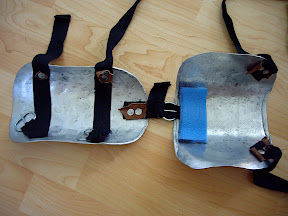
And from the bottom. See how I reinforced the straps with a little bit of leather? I was having trouble with the rivet breaking/destroying my thin cloth strapping. The leather fixed that problem. I got the leather from an old leather jacket from the thrift store.
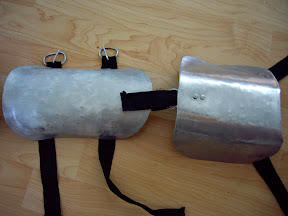
And here they are fastened to together. I would highly suggest making the strap that conects the two peaces buckled straps so you can adjust it.
Valah! A finished Pauldron and Rerbrace! This concludes the Making a Rerebrace and Making a Simple Pauldron Tutorials. If you have any questions or I forgot something please let me know!
No comments:
Post a Comment